


 Are you ready to make some amazing HUGE bubbles?
Thius is what I used:
2 dowels or one dowel cut in two (I actually used an old broom stick and cut it in two each side is 2 ft long)
Two eye hooks you know the ones that have the circle at the top
Rope- I used rope I already had at home, if I were to go out and buy some I would get something thinner, Like the rope you use to hang laundry would be perfect. Important- You want it to be cotton or soft nylon
I cut my pieces to these lengths top rope is 30 inches bottom rope is 86 inches
a Washer
Directions-
1. Make sure you cut your dowels to your desired length
2. Attach the eye hooks- 1 hook on the end of each dowel
3. Attach the shorter rope first tie each side to each eye hook
4. Attach the longer rope. Attach one side first to one eye hook, slide the washer on and then attach the other side of the rope to the other eye hook.
5. This is optional. But I like to take a lighter to the frayed ends of the rope to stop the fraying and to give the rope a longer life.
6. That's it enjoy! Make your own Bubble Solution I recommend any of my Amazing Bubble Recipes! Just make sure you make them a day ahead of time to make sure they work really well!
Are you ready to make some amazing HUGE bubbles?
Thius is what I used:
2 dowels or one dowel cut in two (I actually used an old broom stick and cut it in two each side is 2 ft long)
Two eye hooks you know the ones that have the circle at the top
Rope- I used rope I already had at home, if I were to go out and buy some I would get something thinner, Like the rope you use to hang laundry would be perfect. Important- You want it to be cotton or soft nylon
I cut my pieces to these lengths top rope is 30 inches bottom rope is 86 inches
a Washer
Directions-
1. Make sure you cut your dowels to your desired length
2. Attach the eye hooks- 1 hook on the end of each dowel
3. Attach the shorter rope first tie each side to each eye hook
4. Attach the longer rope. Attach one side first to one eye hook, slide the washer on and then attach the other side of the rope to the other eye hook.
5. This is optional. But I like to take a lighter to the frayed ends of the rope to stop the fraying and to give the rope a longer life.
6. That's it enjoy! Make your own Bubble Solution I recommend any of my Amazing Bubble Recipes! Just make sure you make them a day ahead of time to make sure they work really well!
 The great thing about this Bubble maker other than the fact that it makes HUGE bubbles is that you do not need a large bubble solution container. We used a sand bucket.
 You can see that the kids had no trouble making huge bubbles!
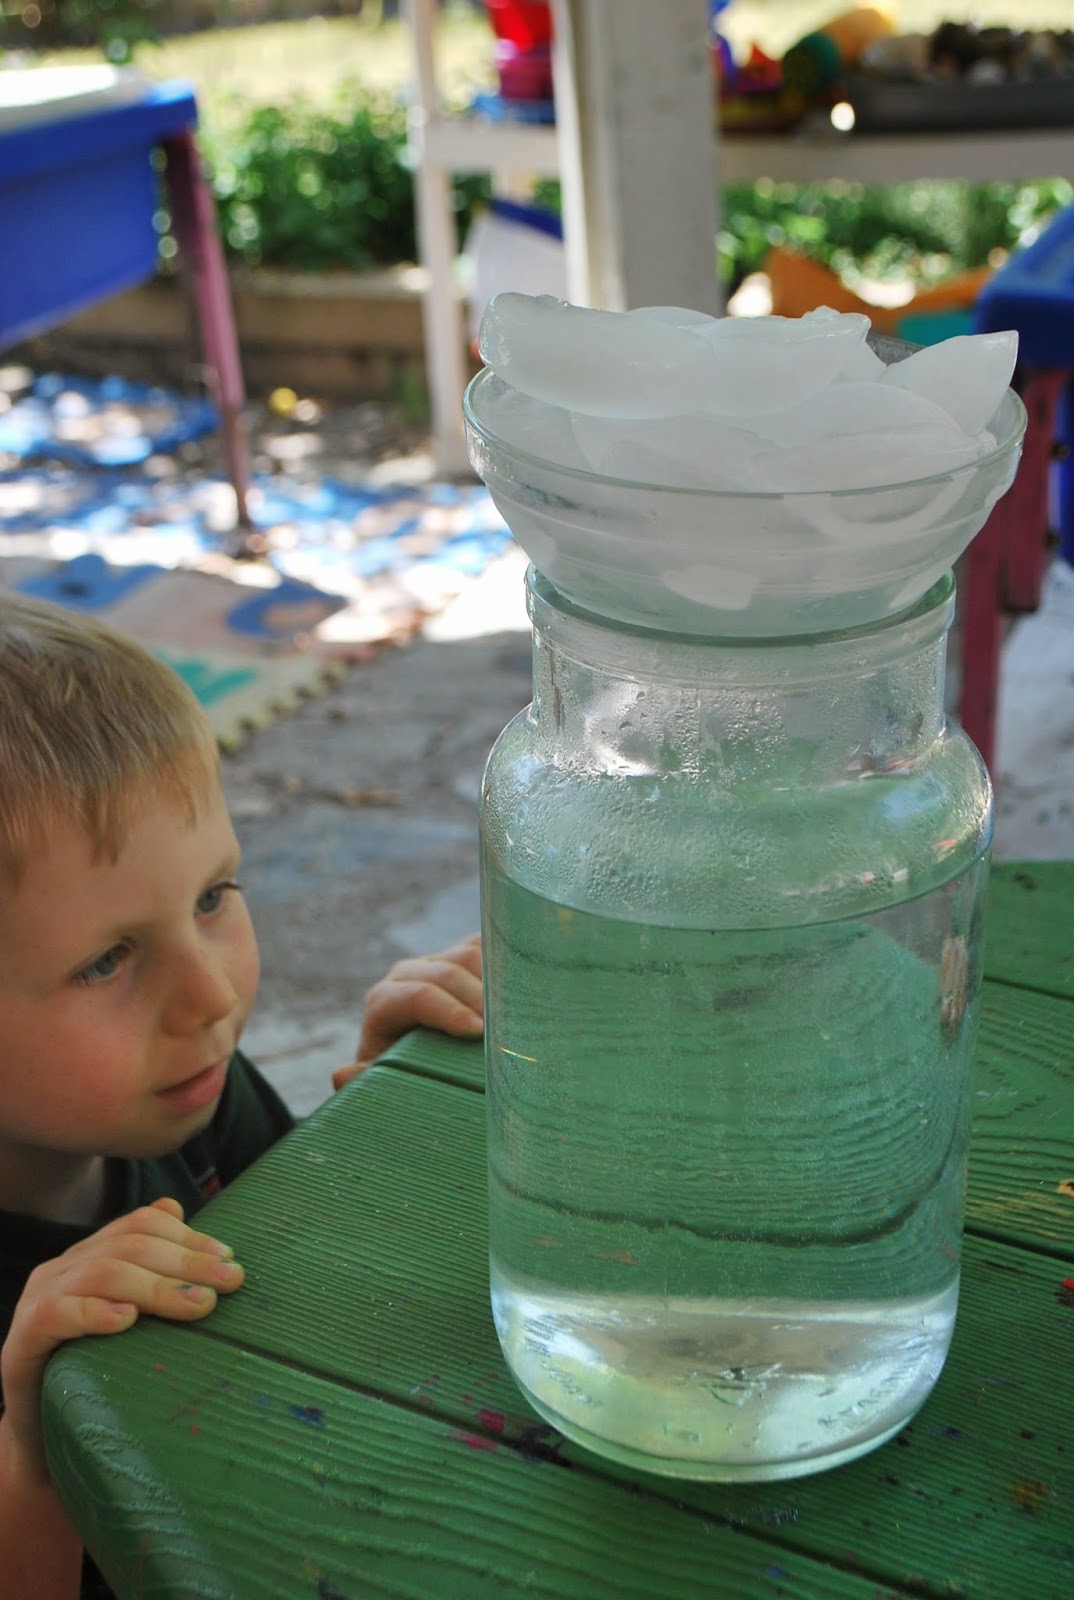
 They hardest thing for my kids is the waiting to pop the bubbles. They wanted to run and pop each bubble before they were done being made.
 You can see the washer helps hold down the rope and keeps it from getting to tangled.
 I told you huge amazing bubbles!
 They were so incredible!
 And that's it now its your turn. Go make a giant bubble blower maybe you already have everything you need...
 To make bubbles like this!!!


 We have a display of lovely 99cent store flowers. Plus Kaia pointed out we pick up our organic fruit from the flower shop by us. So we have some fruit there as well.
 If you want to make some cute flower balls. Its super easy just pick up some of those plastic balls with the holes in them from the 99 cent store and hot glue flowers in each hole. If you want to get fancy you can spray paint the ball first but I didnt and I dont think you can tell.
 You can see the red one I made in the picture above and the yellow one in the picture below
 More Flowers and our butterfly/ caterpillar den behind
 Watering cans in the sink and Birds and bloom magazines behind
 More flowers and baskets
 The buying station. There was a calculator and a pad and paper for receipts. But I didnt get any pictures of it. Here is Kaia wrapping cellophane around the flowers (the cellophane was precut) and pieces of ribbon
 Selling flowers tying ribbon (hooray for fine motor)
 And bags are essential
 Cards to personalize the flower shop gift
 selling station
 I used cutup pool noodles to hold the flowers up
 super fancy
 Mikey was super into this. Flowers are not just for girls!
 This Imaginary Play kept them busy for a long time!
 Looking through a flower magazine for shopping choices
 This was such a fun set up pretty much everything came from the 99 cent store so it was pretty inexpensive!


